Wednesday, September 21, 2016

The Entertainers

The client: An event planning family business needed an office makeover. This larger than life family has been in business for decades. The younger generations are now taking a stronger role in company strategy, growth and greater responsibility. It was time for some basic functionality changes within their space to assist with the changing of the guards. Aligning office operations was a priority; at their former space employees were on top of each other, private office and private meeting space was limited and productivity was being diminished. Lighting was also a huge issue. There was minimal natural light and out dated overhead lighting required a mix-match of task lighting be used. After several design iterations at there existing location it was determined that the sister company, a dance studio, would expand and headquarters would move to an office down the road.

We did the following:
Assessed the program, the who, the what, and the where. We tweaked the budget and finishes, time and time again and finally forced the hand to make some decisions.  It was a challenge to accommodate a comfy more home office feel for mom, a tech/party vibe for son, and the stuck in the middle dad. Here's what we came up with for this class B-ish office space.


Reception: Seating for three, office for one. Create a fun energetic entry that reflects their ability to throw a killer party or a sweet afternoon shower.


We designed and in our shop our carpenters built this mirrored reception desk.
Confetti inspired flush mount fixtures by Quizel are highlights in both the reception and the showroom.

 
Mid install picture - the reception area is comprised of a long bench and two sleeper chairs that surround a center table. The space was tight - sourcing a table in the dimensions required was difficult. Ultimately we settled on a smaller base and added a glass top cut to size. This simple customization is a great option when standard items don't fit your needs.

Adjacent to the reception and just outside the showroom is a coffee station and wine bar to serve clients as they arrive or that special event in the office - like Friday.

Showroom: Seating for six, ample storage for party chairs to display, linens for tables, fabric and invitation books and samples. Provide showcase area for client specific items. Create a comfortable space for clients to review and view the plan for their party. Also a media station to showcase past projects or to show clients pictures and videography of their party.


The showroom required lots of storage for fabric samples and invitation books. This media wall was created out of Ikea cabinetry. Stacking cabinets can help fill a wall and create limitless amounts of organized storage. When planning storage for a room don't limit useable space to standard lower & upper cabinets, vertical and horizontal space should be utilized to it's fullest. One wall utilizes floating picture rails to display invitations or other client specific items during a pitch or meeting. Two storage closets were provided to house a rolling rack for linens and example chairs for parties.

Office for Dad & Son: Dad I need lots of filing storage, son I don't want any. Dad ok whatever he wants. We came up with a mixed both open and closed storage with a simple desk design to compliment the other modern selections throughout the space.


Scoop chairs and a mixed media desk station with storage appease the younger generations need for an inspired workspace and Dad's need for more traditional .
  
For mama bear we utilized her exiting Pottery Barn office furniture and added some bookcases of the same series to give her more storage. We added a more feminine bench seat for any office guests she might have. We were able to position her in a corner office so her style doesn't compete with the atmosphere of the remaining space. Using neutral colors allows for an easy transition for the eye into her office.


The open office area seats seven and hosts a team lounge space for informal meetings or parties. A low profile cubical system with fabric partitions was utilized to allow for sightlines between employees. A simple table set up in the break room/kitchen area for a quick semi private phone call or meetings.


Pictures and styling were postponed by the companies productions - back to work, work, work, work, work. Photo shoot with artwork installed not yet scheduled - its always hard to go back into a space after a significant time after delivery has gone. This happened in Q1 of this year 2016.


But happy clients are better than pretty pictures anyway. It will be interesting when we catch up with the Siagel's this fall to see how there space has evolved with all there reenergize productivity.
 

Design Team:
Resa Gray, Design & Project Manager
Molly Pidgeon, Design

Custom Carpentry:
Latitude Corporation
As designed By MP, House of Dietrich

Furniture Sources:
Creative Office Pavilion, Ikea, CB2, World Market, West Elm, Amazon, Wayfair


Friday, September 16, 2016

Wallcovering Obsessions


 Wallcovering is a great way to make a big impact in a little or big space. It can be intimidating and quite costly if you need a professional installer so most people shy away. Don't do this, be bold. The apartment lifestyle has opened up a whole new market for self adhesive papers.
 
  It is no secret I love a project and getting my hands dirty. I was psyched to see these wallcoverings hit the market and couldn't wait to get my hands on some. It wasn't easy but I'd do it again. I am also getting brave and trying out the real thing - full paste and all. You'll see the adventure here come December. For now here are a few tips for installing self sticking wall covering and a couple of the best options I've found in the market.


CB2 Traditional Black & White Palm
  CB2 has great options from urban to updated takes on traditional patterns. We used a variety of the traditional palm in a navy and gold print in a Hollywood Glam bathroom. Install tutorial below.

Bloomies has your Boho to Traditional with a white Carrera option that will knock your socks off.


 One thing to note test cleaning your wall paper - most are either printed vinyl or fabric and cleaning with harsh chemicals can blur and ruin the image.

Bloomingdale's Grass cloth

 This grass cloth is a great neutral for any room. Any of your fabric peel and stick wall coverings are going to make for an easier install when it come to corners of a room. The vinyl coverings will bend and stretch which can distort the pattern.

Brewster via Houz

 Brewster has a large amount of options from Damasks to natural stone or brick.

Great options for the apartment dwellers looking to add architectural elements to a space exposed brick or concrete and create the studio loft atmosphere is spaces that maybe lacking character. Don't be fooled I know you don't have 14' ceilings and the expanse shown in the picture - but these can work just as good in you 8' ceiling heights in your 4th floor walk up.

For all the nursery creators out there Chasing Paper has amazing playful options. Like this jungle theme. it comes in multiple colors and animal options. 

Ok so here are the goods. Get your supplies ready.  If your not great with space relations don't go with a geometric pattern or anything with a repeat. Stick to a design that can be blended well from sheet to sheet. This is what you will need for an install:


1. Cutting mat or a large piece of cardboard
2. Utility or X-Acto knife
3. Measuring tape
4. Straight edge/ruler
5. 4' Level
6. Pencil
7. Shower Squeegee/ or other smoothing tool 
8. Step stool or ladder (depends on your ceiling height)
Step one: Pick as starting point. I like to start at door frame. It gives you a nice clean start for your first piece. Measure the width of the roll away from the frame or starting point and draw a straight line - checking it with the level a decent length - 4' to align your paper.
Step two: Measure the height floor to ceiling. Give yourself about a 1/2" play when you measure and cut the roll. The ceiling and floor might not be level (once you have placed the wall paper you may need to cut the excess off the top at crown molding or ceiling line and at the baseboard. If you hanging a striped wall paper you want to be sure that the install is plumb.
Step three: Measure and cut the wall paper. A few tips - always cut away from your body with the straight edge. Use your cutting mat so not to damage floors or counters. If you haven't done it before watch a tutorial. I won't be responsible for lost digits.
Step four: Hang the paper starting about a third up the wall. This will allow you to follow your pencil line. Smooth wall paper horizontally first - left to right and then vertically up to the ceiling and then down to the floor. Take each direction slowly and intentional pushing out any air bubbles. You can do this with your hand or a rubber squeegee.  
Step five: Repeat until complete
Cut Outs: Your bound to run into outlets or light switches, emergency devices etc. Take the width and height of these items and trace it onto the paper. If you don't want to mark the dimensions on the face of the paper you will need to reverse the image on the back. Make a simple square and draw a line from the top right corner to the bottom left corner. Repeat from the top left corner to the bottom right corner. This will create the opening for the switch/outlet etc.


 Need help picking the right wall covering for your space? Let me know how I can help find the right product for you or tell me what you've ordered and how the install went.


Thursday, December 31, 2015


Don't think this piece has any life left? Think again.


Sanding, new hinges, a fresh coat of paint (s) and some love will do wonders.


  This unique farmers hutch will add a much needed injection of history into a new kitchen renovation with a Summer 2016 delivery date. Don't forget to mix pieces that show age with newer items to maintain a level of lived in sophistication. 

Storage for root vegetables, dog food, and oversized plate wear are great options for the oversized piece with a hinge top lid. Also perfect for scooping flower or other baking goods. The revived hutch will have a full tile wall back drop with floating shelving above. It will be surrounded on both sides by kitchen cabinetry. 

Tuesday, December 22, 2015

A Global Inspired Dining Room

A new crystal chandelier, books and collections 
of a world traveler led to an eclectic dining room makeover.


If you grew up in an american home built in the first half of the 20th century chances are you've seen this gem of a patriotic wall covering. I recall my childhood friend's mom cursing while removing this wall covering for days from their upstairs bathroom.


Luckily, for this renovation we were able to just take down the walls. I'm all for patriotism but this eagle needed to be laid to rest.  It was a heartfelt renovation because after years of painting and rearranging this house against the owner's wishes, this time I was asked to help. After doing her own kitchen fluff and buff, with snide remarks of "you do know what I do for a living, right?" my mom finally succumb. She handed over her dining room to my crew while she climbed Machu Picchu and hung out in the jungle, true story. 

Typical upgrades for a home of this time period were needed.
Insulation, windows, floor leveling & refinishing, 

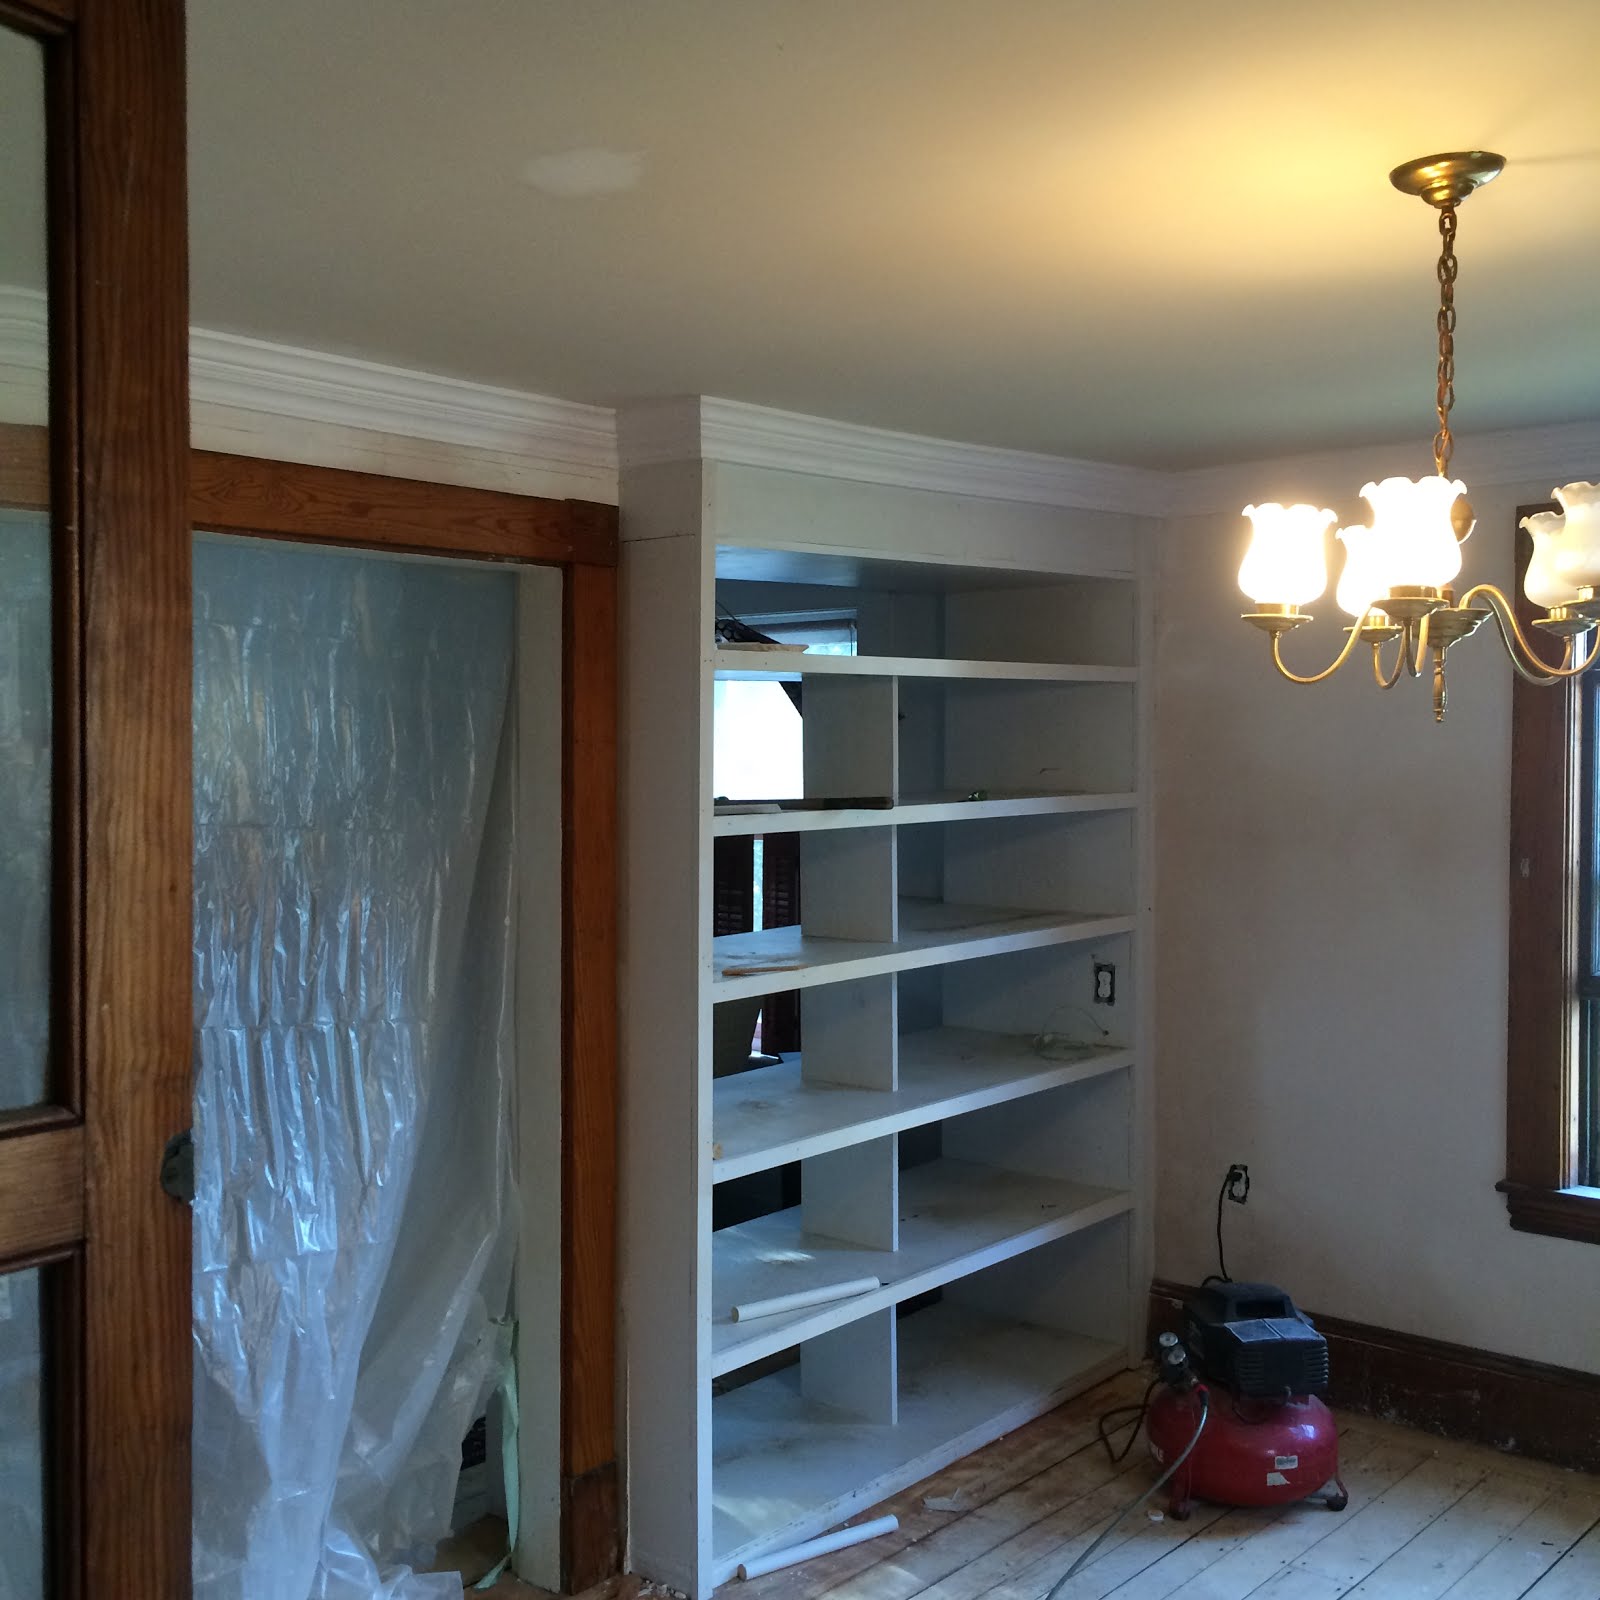
One of my main concerns was taking the smile out of the overloaded bookshelf and paring down the collection of books and decorative items to make space for the eye to move around the room. Adding crown molding and creating a soffit and adding crown molding to the book case make it look like it's always been there.

Without molding it looks like the afterthought
Can you see the smile now?
This crystal chandelier was a steel and it's the now sets a beautiful glow across the room. Casting a warm elegance over the antiques and items from the wanderers' travels. 


We intentionally left the trim work it's natural color to compliment and balance with the differing wood tones of the furniture. A custom stain in of ebony & honey lay the groundwork for a collection of oriental rugs. If your floors look the before pictures here - you're in for some back breaking labor to get the poly of the floor. Rent a machine and get extra sand paper. Then get more sand paper & a palm sander. Be sure to treat the wood before finishing. It will be beyond thirsty. 
Be sure to treat the wood before finishing with poly. It will be beyond thirsty. 


A table setting of books, china and glassware made a welcome home gift. 

We intentionally left the trim work it's natural color to
compliment and balance with the differing wood tones of the furniture. 


Dressing the walls and tying in the details including wall color, 
furniture, accessorizing and tricking the eye for the uneven house to come. 

Check back monthly to see how more is more in the world of electric and boho chic styling. 


Have you used FLOR?


Stickers, Check.
Carpet tile, Check.
Utility knife, Check.


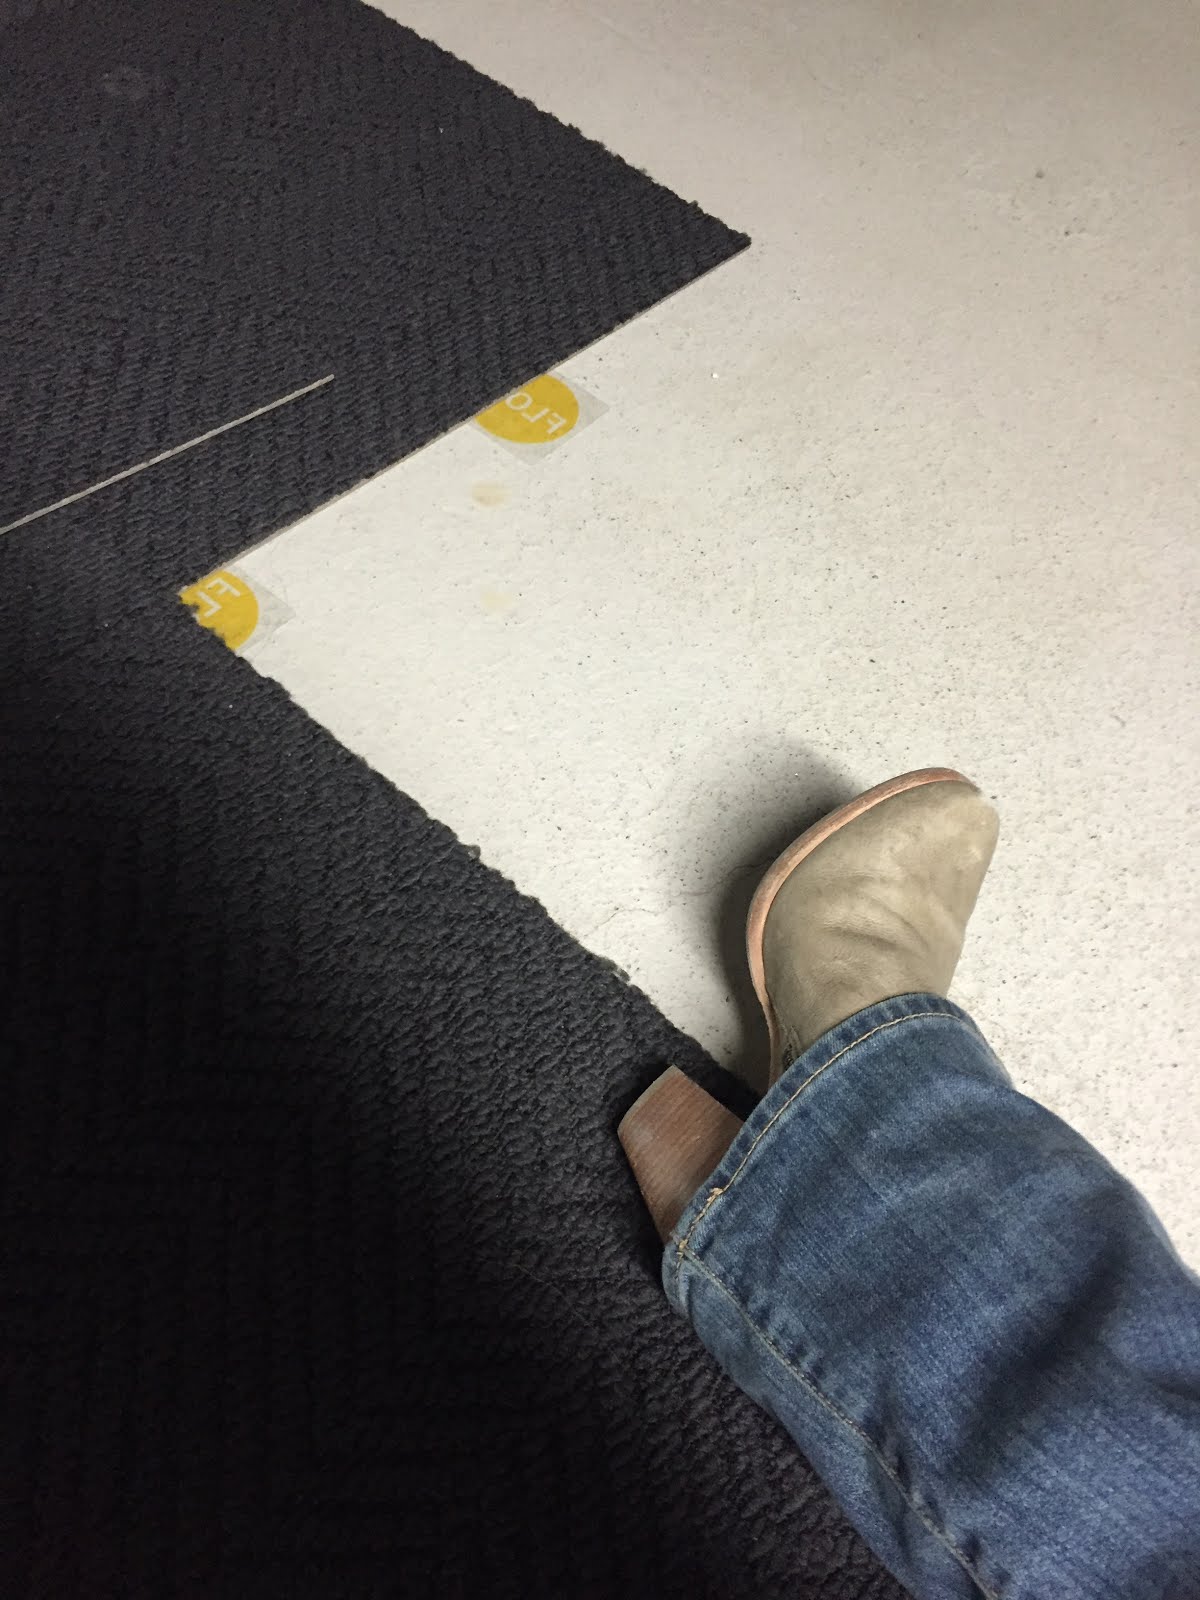
This installation took a day. The most difficult part was keeping Luna off my lap while trying to lay the tiles down.  FLOR has a great array of styles and colors for all room types. Price hurts a little bit but not having to pay for a professional installations out ways any buyer's guilt over the initial cost. 


Like most things in my life, I did it in heels. No quarter turn allowed - a monolithic pattern is prefered to create a linear effect on the floor to enlarge the space and detract from a lower ceiling height. 


For this installation we used SUITE YOURSELF, in storm.  Easiest possible installation alive. Go. 


Saturday, November 28, 2015

Tussle at the shop


Junk-off:  when you and someone recognize the same object and proclaim a silent dibs while staring each other down over said item.


Friday, November 27, 2015

Have you heard of Class A, B & C office space?


We introduce ClassE. That's right we're classy. 


We started off this glam office space with a combination of materials from exposed brick, wood floors, repurposed doors and it's all about the light - natural and the bright & shiny.


A former dance studio, in a building I have covetted for half my life, was gutted to allow for an open office area for five, reception area, telephone room, eat-in kitchen, conference room and office. Down stairs is 1000 sq ft of work shop and storage area for architectural salvage, tools, and materials.


 Walls went up quickly as we pushed through a three week deadline to make the space functional and conducive to employees working during construction. We brought natural light back into the space by opening a window that had previously been bricked in. No one wants to work in a cave, studies have shown that people that have direct site lines to the outdoors are happy at work which leads to increased production and employee retention. Three things that should be top priorities for any business.


 Reflection and sparkle are to be constant throughout the space so we chose a high gloss white ceiling, justice ceramic fixtures - these can be purchased in a color or bisque which allows you to paint the ceramic in whatever color you like - with fanciful chandeliers and pendants and one major RH Vaille Crystal Chandelier score from Craigslist.


Keeping with the mixed metal trend, we've used brass floor plates and a mixture of brass, crystal & chrome hardware.  This trend is one for the the timeless section and won't be going any where any time soon.

 
 Flor Vintage Vibe carpet tiles, create a comfy base for the telephone room. Looking a little bare at the moment! Furniture & Styling are in-route - check out our Instagram feed for more pictures of this project and others.


More project pictures to come as we start to wrap up the final details of this fit out.  


Friday, November 13, 2015

The Grind & Negotiation

  I have been so bogged down in the details and paperwork. Trying to catch my breath and remember to celebrate the small victories.

   Frustrated by the grind and the worst part of my business. It comes at the close of a project, when the final dollar values are totaled and all of the threats and requests for subcontractors to clean up after themselves, provide documentation or manpower are compiled into a mess of additional invoicing and charges that I've incurred due to their negligence. This  somehow in subcontractor minds is my fault and I'm expected to bill the client for these oversights. I don't think so... We hold weekly meetings, distribute meeting minutes, outline these regulations in contracts send emails and verbal notifications but when they receive back charges they call us unprofessional.

How is it we have become a society that pushes all the work one is required to do on to others and make things their problem instead of taking responsibility for our own work? How is it that some people actually then accept this as reality?

 I am beyond frustrated by the lack of understanding that as a Construction Manager I am not a cleaning service, a secretary or blank check. While I dread these conversations I realize that it is apart of this business. And an unattractive part of it.

 These issues clouded my day today however, the bonus and not so small victory of my week is that I know type this from my new office, that has a door!

I press on to ensure my clients get the best and value for the product, I promised to deliver. I remember that as much as I need good subcontractors to perform my work, my main priority is ensuring my client isn't taken advantage of due to negligence by the subcontractors we hire. We can't control the information that people provide to us, people can elaborate on their abilities to get a job, they may even think they are capable. Eventually you find out who has over promised on what they can deliver. Unfortunately sometimes this information can come a little too late, and the person delivering the message may not be capable of hearing your concerns or requests. While I need to be strict and stand my ground on things that seem unreasonable to some, I ultimately try and be as fair as possible when these type of negotiations stain a project.  Ugh. I press on. Another day of the grind and more negotiation practice. Practice makes perfect.


Sunday, October 18, 2015

Getting Inspired

The best part of New England is the change in the seasons which allow us to be inspired by nature and it's colors, scents, and the sensory of changing weather. I take comfort in the predicable change and the thought of excitement in the first snow fall that isn't to far away.

Ask for inventory on our collection of Exterior Signage Letters.


As fall rolls in our store front received it's last dressing of copper, wheat & barely and beer jugs in preparation for new a new collaboration. It's bitter sweet as we have out grown our current space and move on to the next chapter - accross the street. A new space for Ironwood to be revealed in the blink of an eye that will accommodate a staff of 5 + in the office.

Here our some projects currently on our plate

The anti-office.Class-E Offchic Delivery Nov. 2015

We are in the ground on other projects, & above ground on some. 
Shoring up & placing a new foundation - Summer 2016 Exp. Completion


Attic Master Suite - Bathroom Delivery December 2015


And it's always fun to have a new toy to play with. 


We have dirt & snow fever 
Off to find some treasures on this cold Sunday. Check in soon to see updates, material selections and tips on how to stretch your budget.